Revised: 10/01/2019
As a cardholder makes purchases, the transaction information must be logged on a Pcard log. A Pcard log must be completed for each cardholder. OBM provides a standard Pcard log that may be customized by agencies. Cardholders submit logs to the agency fiscal office weekly or more frequently as needed.
Once logs are received in the fiscal office, the reconciler/approver will review the log and all associated documents to ensure that the purchase amount is validated by the backup documentation. The reconciler/approver must be able to easily determine from the backup documentation that the transaction is valid.
Once a transaction(s) is approved the transaction will remain in "Approved" status throughout the business day. An overnight batch process will create a cardholder voucher for all approved Pcard transactions. All budget checked cardholder vouchers for an individual agency are combined into a single agency voucher that will be sent to the Pcard bank.
.
. If the cardholder has
pending transactions from before the default transaction date
period, the transactions will not display.
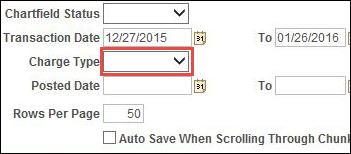
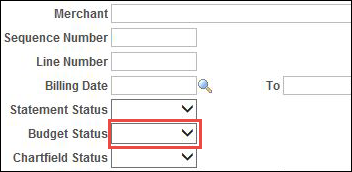
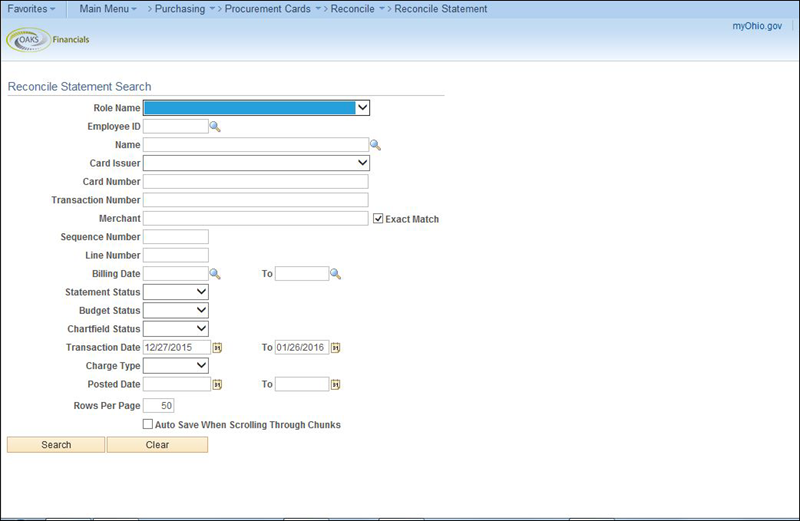
, Sequence
Number,
Line Number, Billing
Date, Budget
Status,
ChartField
Status, or Charge
Type.
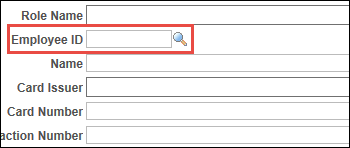
* field OR click the Look
Up icon to search for the employee’s name.
Enter
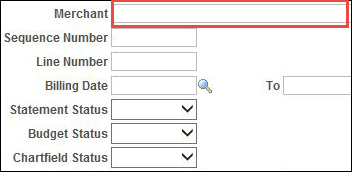
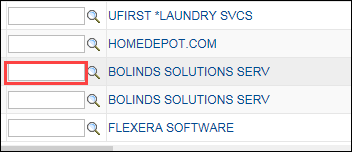
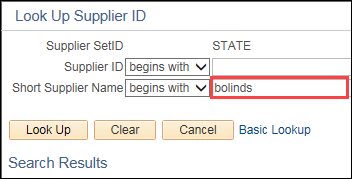
Merchant*.
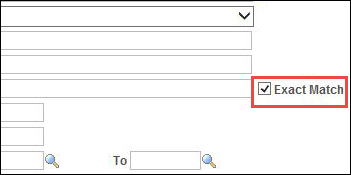
Partial Merchant name can be used if the
Exact
Match checkbox is unchecked.
* dropdown.
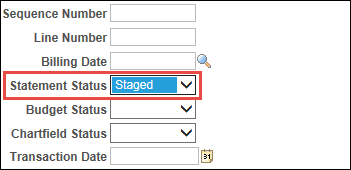
There are ONLY four Statement Status (stages) field options recognized in OAKS FIN:
.
.
.
checkbox.
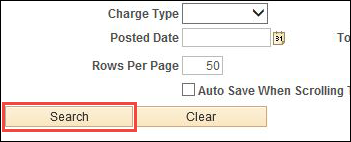
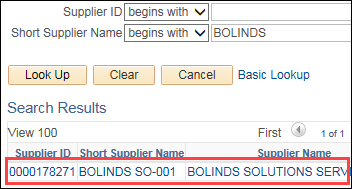
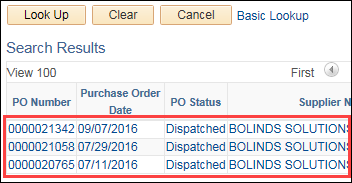
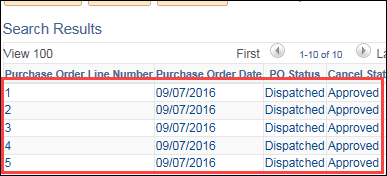
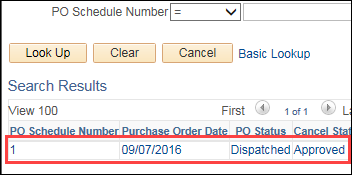
Click Search.
.
.
lookup and select the appropriate
contract for the transaction.
supplier using the following codes:
for Pcard transactions.
for Pcard transactions.
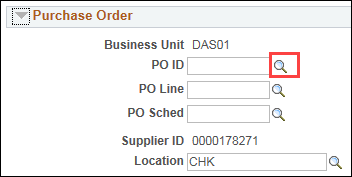
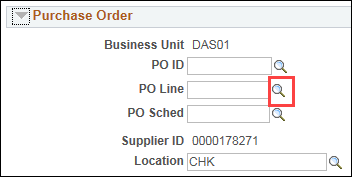
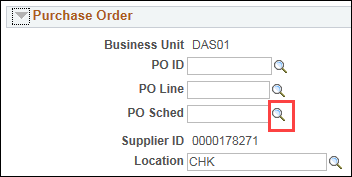
OIT Release and Permit Number, DAS Release and Permit Number and Controlling Board Number will appear only if a purchase order with this information is associated with the transaction.
.
or Billing
Amount match the total amount of the receipts
and the amount listed in the Pcard log.
.
icon to enter comments or attachments, if desired.
Click the Attachments
link to add an attachment.
button next to the ChartFields Status field.
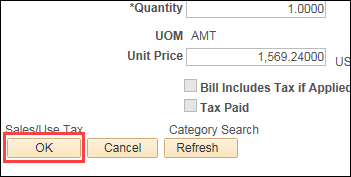
field. Pcard transactions will never
contain quantity information.
field.
field to the correct Account code.
field.
field.
field.
field for each line correctly reflects the portion of the
cost that should be taken from each distribution and that
each distribution has the correct information for the split.
fields must total 100%. OAKS FIN automatically updates the
Amount
fields on each line based on the Percent
value entered.
.
![]()
link may be used to
enter the string for multiple transactions at the same time.
,
if desired.
menu and click Save.
button at the bottom of the page.